No matter your preferred social media platform, eye-catching graphics and video perform better than text posts at catching your audience’s attention—plus, they elevate your brand’s identity while differentiating it from the competition. Nowadays, even if there isn’t a dedicated graphic designer on your team, professional graphics are not out of reach. Canva maybe the tool to help your business gain exposure and be the key to attracting your ideal client. I’ll teach you how to create a trendy post with Canva so you can kickstart your business with confidence and ease.
Well, what is Canva?
Canva is an easy-to-use free and paid design tool which you can use on desktop and via an app. It’s an incredible tool if you’re not a designer, or don’t have access to other design platforms such as Photoshop or Illustrator and can help you create a trendy post in a blink of an eye.
Canva is powerful enough for graphic design pros and intuitive enough for beginners with a huge library of free stock photos, videos, graphics and pre-made templates.
Because of this, Canva has been a favorite to all kinds of people because of its simple and useful interface. It’s become a household software for any type of business looking into creating visuals for their marketing campaigns.
Today, we’re sharing how to create a trendy post in Canva and introducing some of the most underrated tools within the platform to help you get started in your design journey. Whether you’re a seasoned graphic designer or an entrepreneur with no background in graphic design, this walkthrough will help you elevate your marketing game 100%.
UTILIZE CANVA’S RULER TOOL
tools? With this tool, you’ll never stay outside the safe zone when creating graphics for any social media platforms.
Let me show you how they can save you time when laying out your designs and you will quickly agree that they can be lifesavers if you know how to use them right!
Let’s start with Canva Smart Guides
One of the coolest built-in features inside Canva is Smart Guides.
When it comes to aligning things on a page and you have an element selected, you can always use the “Position” menu on the upper right-hand side to align it to the page.
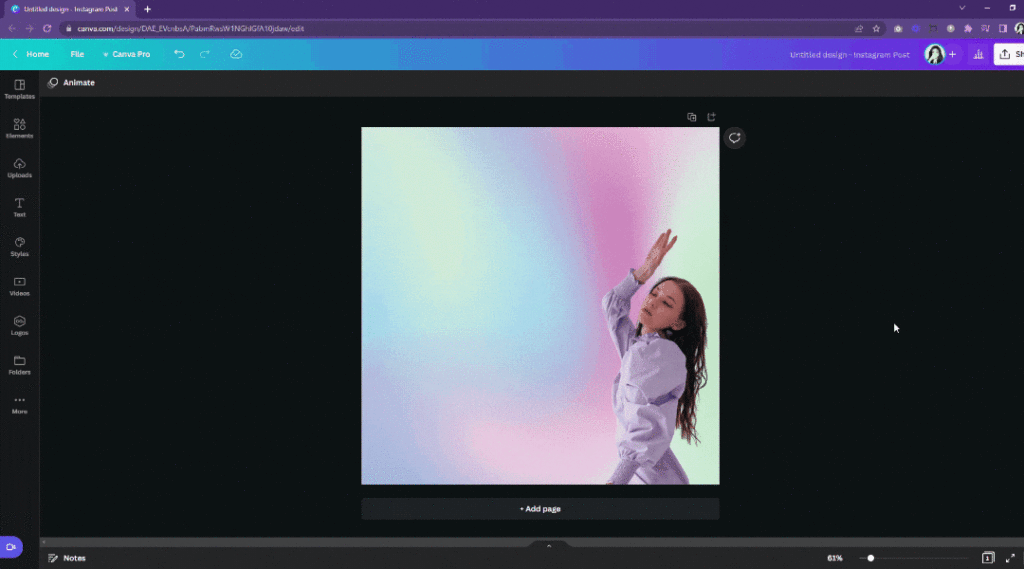
But what if you needed more information to find out how to align elements to each other?
Enter Smart Guides!
All you need to do is click to select the element in question, move your mouse outside the element boundary box, and then hold down:
- The ‘Option’ key on a Mac or
- The ‘Alt’ key on a PC
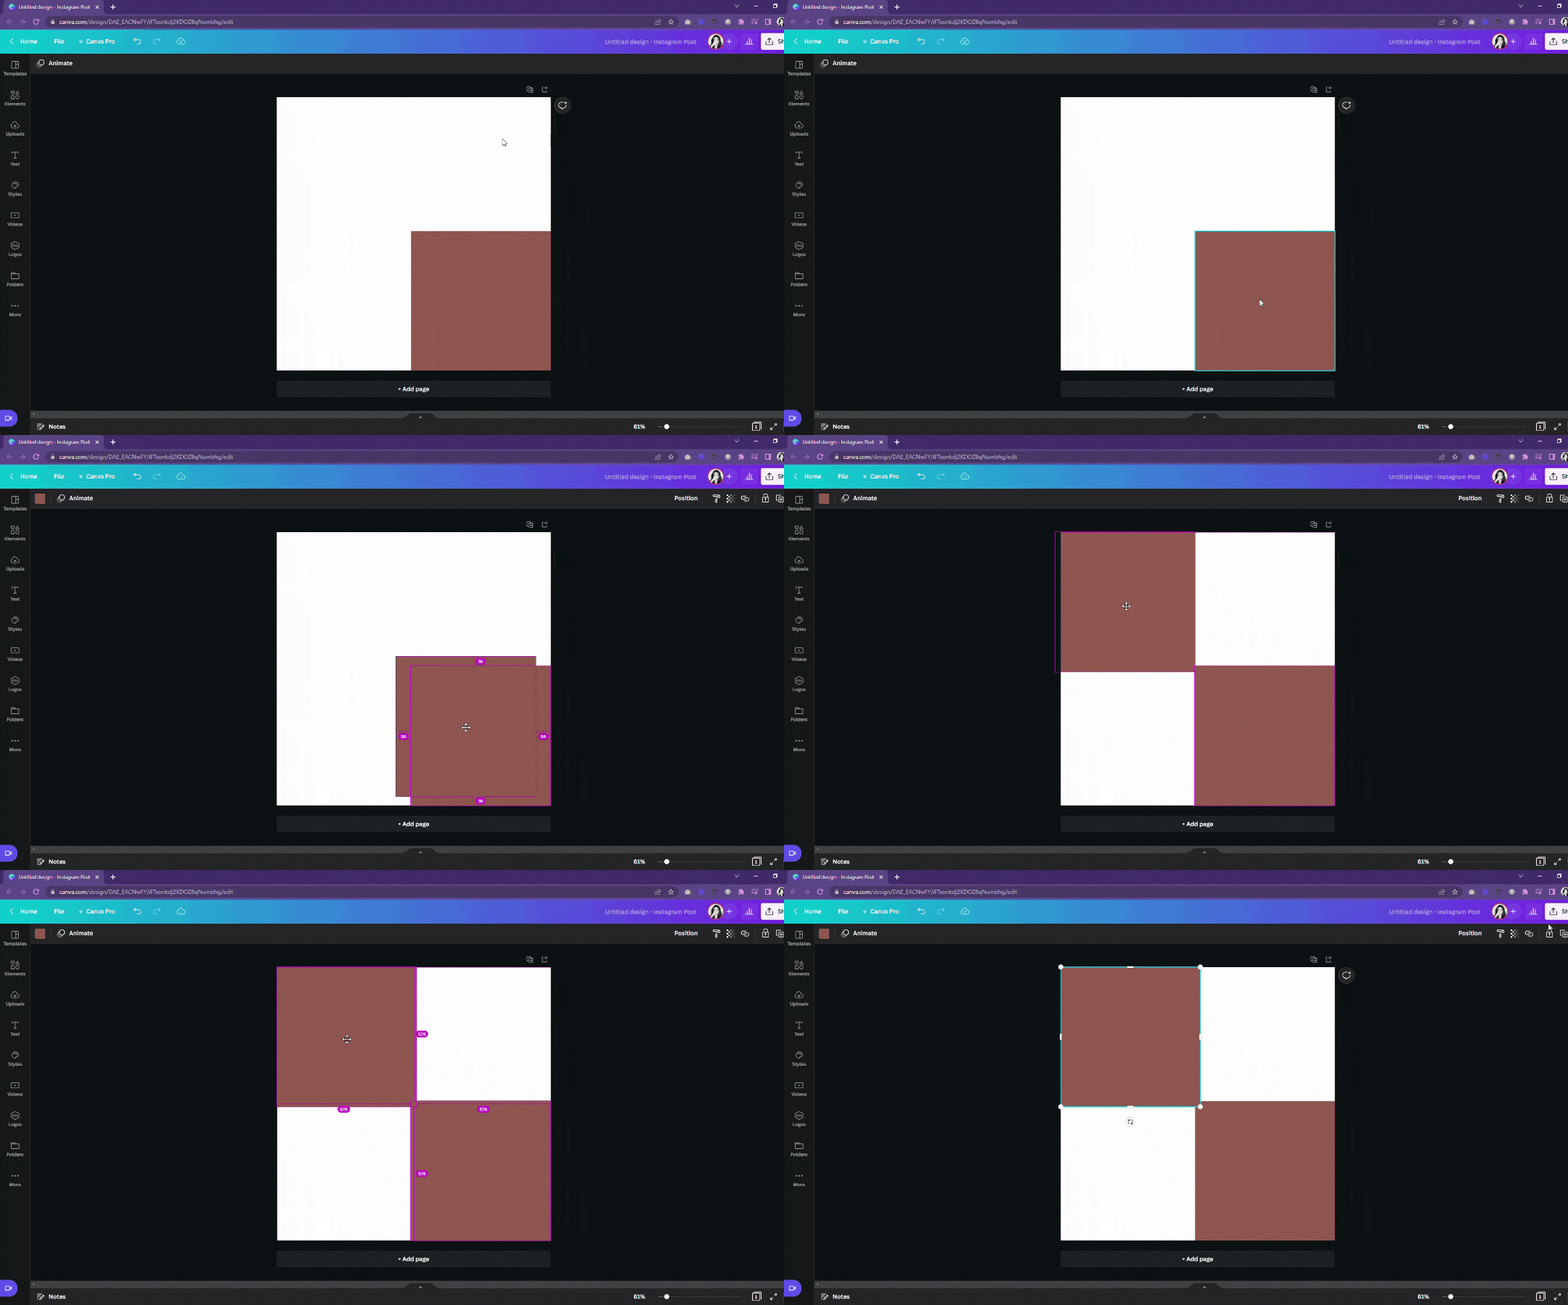
Those little hot pink guides are lifesavers when you need to know how far away an element is from each edge of the page OR even from other elements on the page.
Canva Rulers and Guides
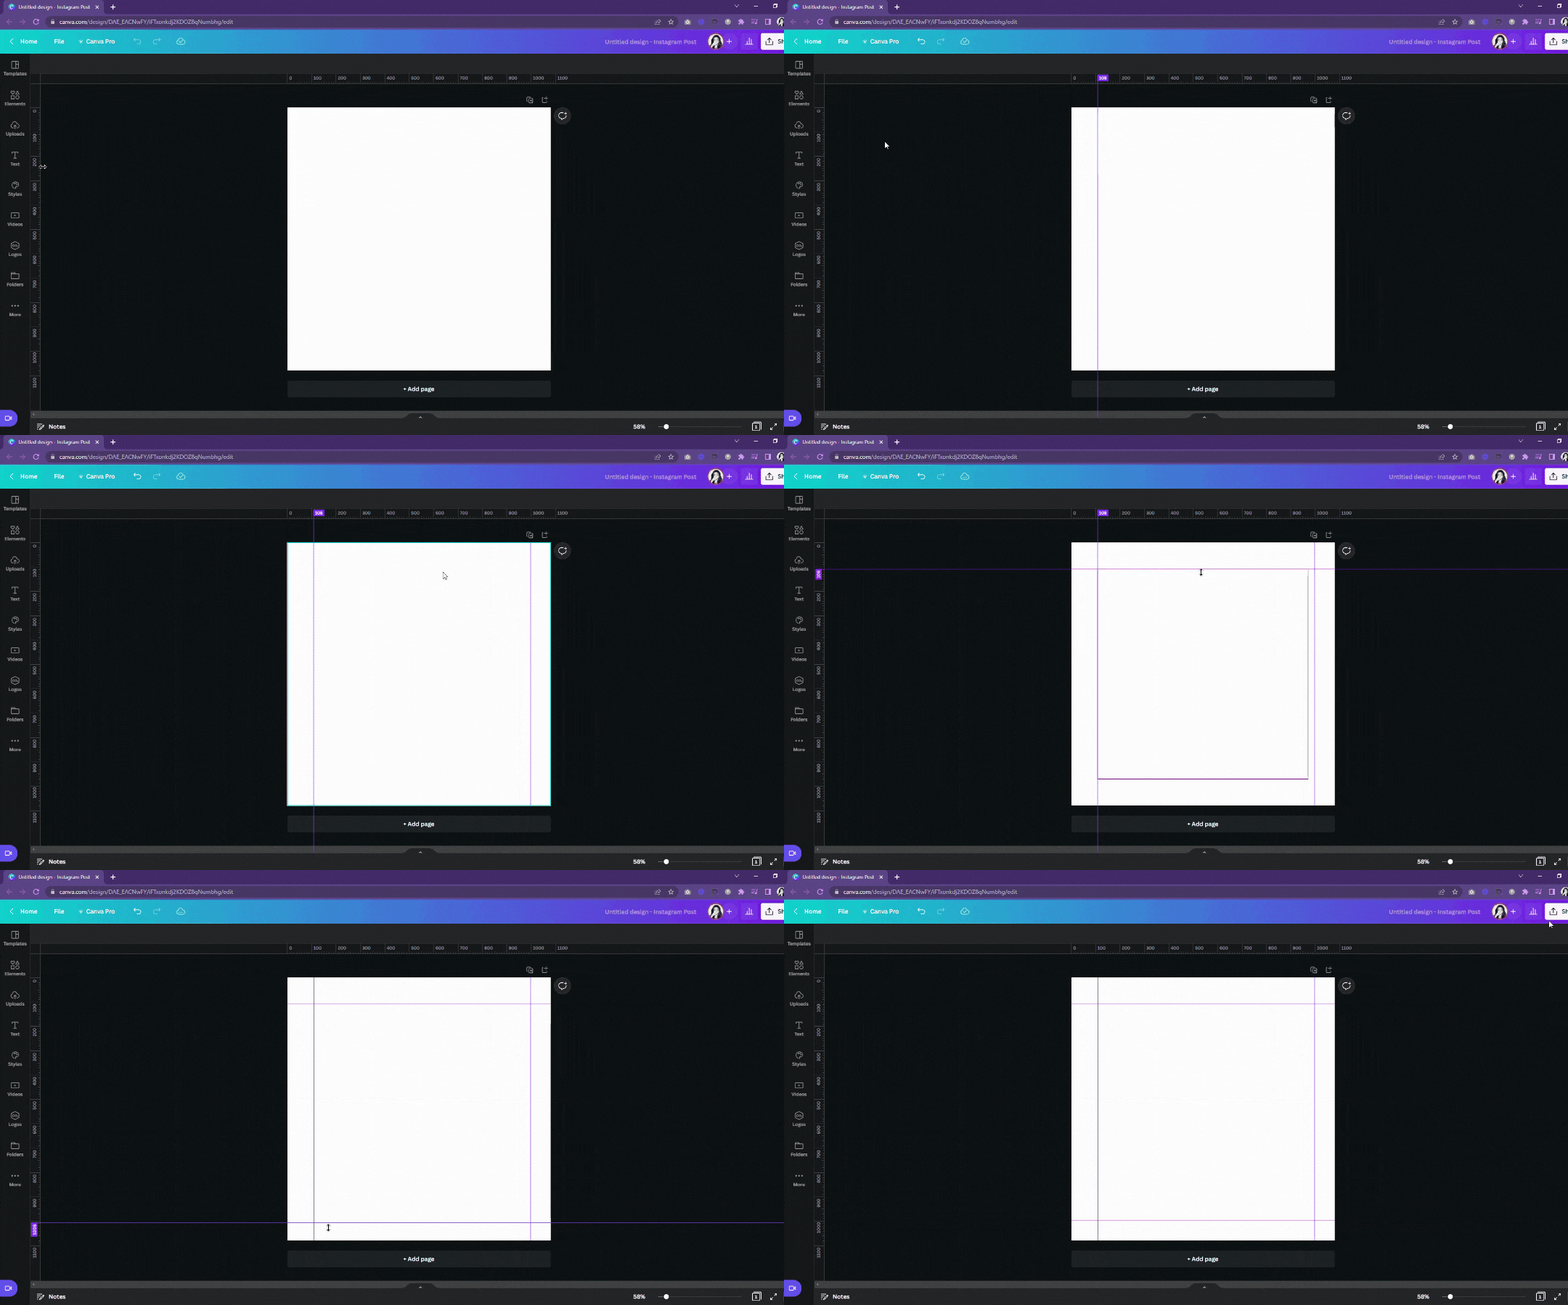
Click on “File” at the top left-hand side of the page, you will find the option to “Show Rulers and Guides”. (It also shows you a handy shortcut as a reminder that you can hold down ‘Shift’ and press the ‘R’ on your keyboard at any time to turn them on and off!)
Once you make rulers visible you will now see them across the top of the page and down the left-hand side of the page. With this activated, you will now be able to set guides within your canvas.
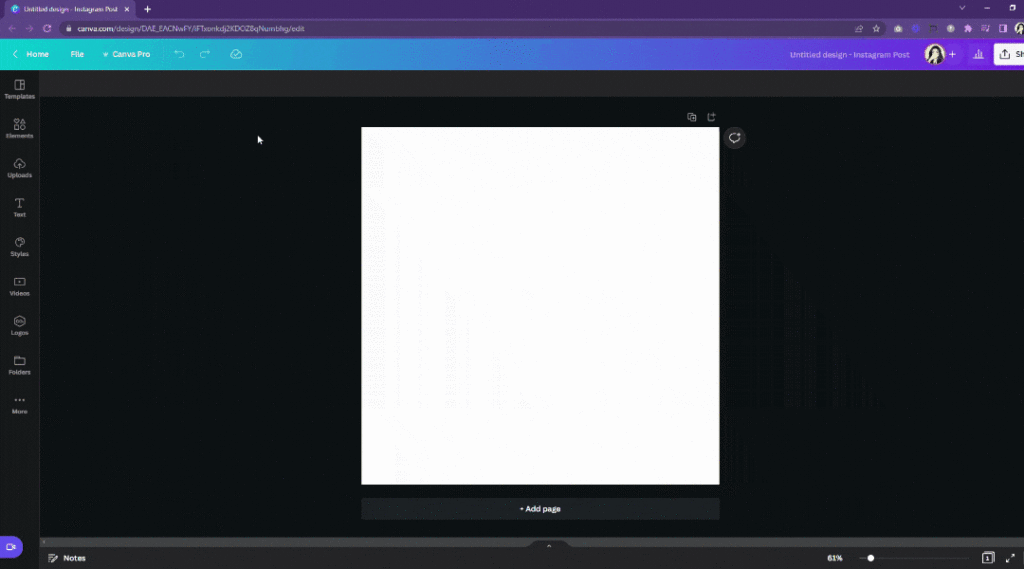
Next up is guides..
Not to be confused with smart guides. The regular guide has a different function and flexibility as with the smart guides.
Guides help you mark your canvas. This helps tons in making your key graphic elements stay in a certain position or distance and maintain the design across all of your slides within Canva.
>> To use the built-in guides feature, you have to have the rulers turned on as explained above. <<
With rulers visible, move your mouse over the top of the dimensions until it turns into a 2-way arrow.
Click and hold to drag down for a horizontal guide (from the top) or a vertical guide (from the left side). Then all you’ve gotta do is let go of your mouse button and it’ll stay in place! You will also notice tiny numbers that change over the top of the rulers to give you the real-time exact location of that guide as it moves across the page.
DRAW TOOL
The draw tool is one of the newest features Canva has released. This tool allows you to add in some spunk and fun to your graphics.
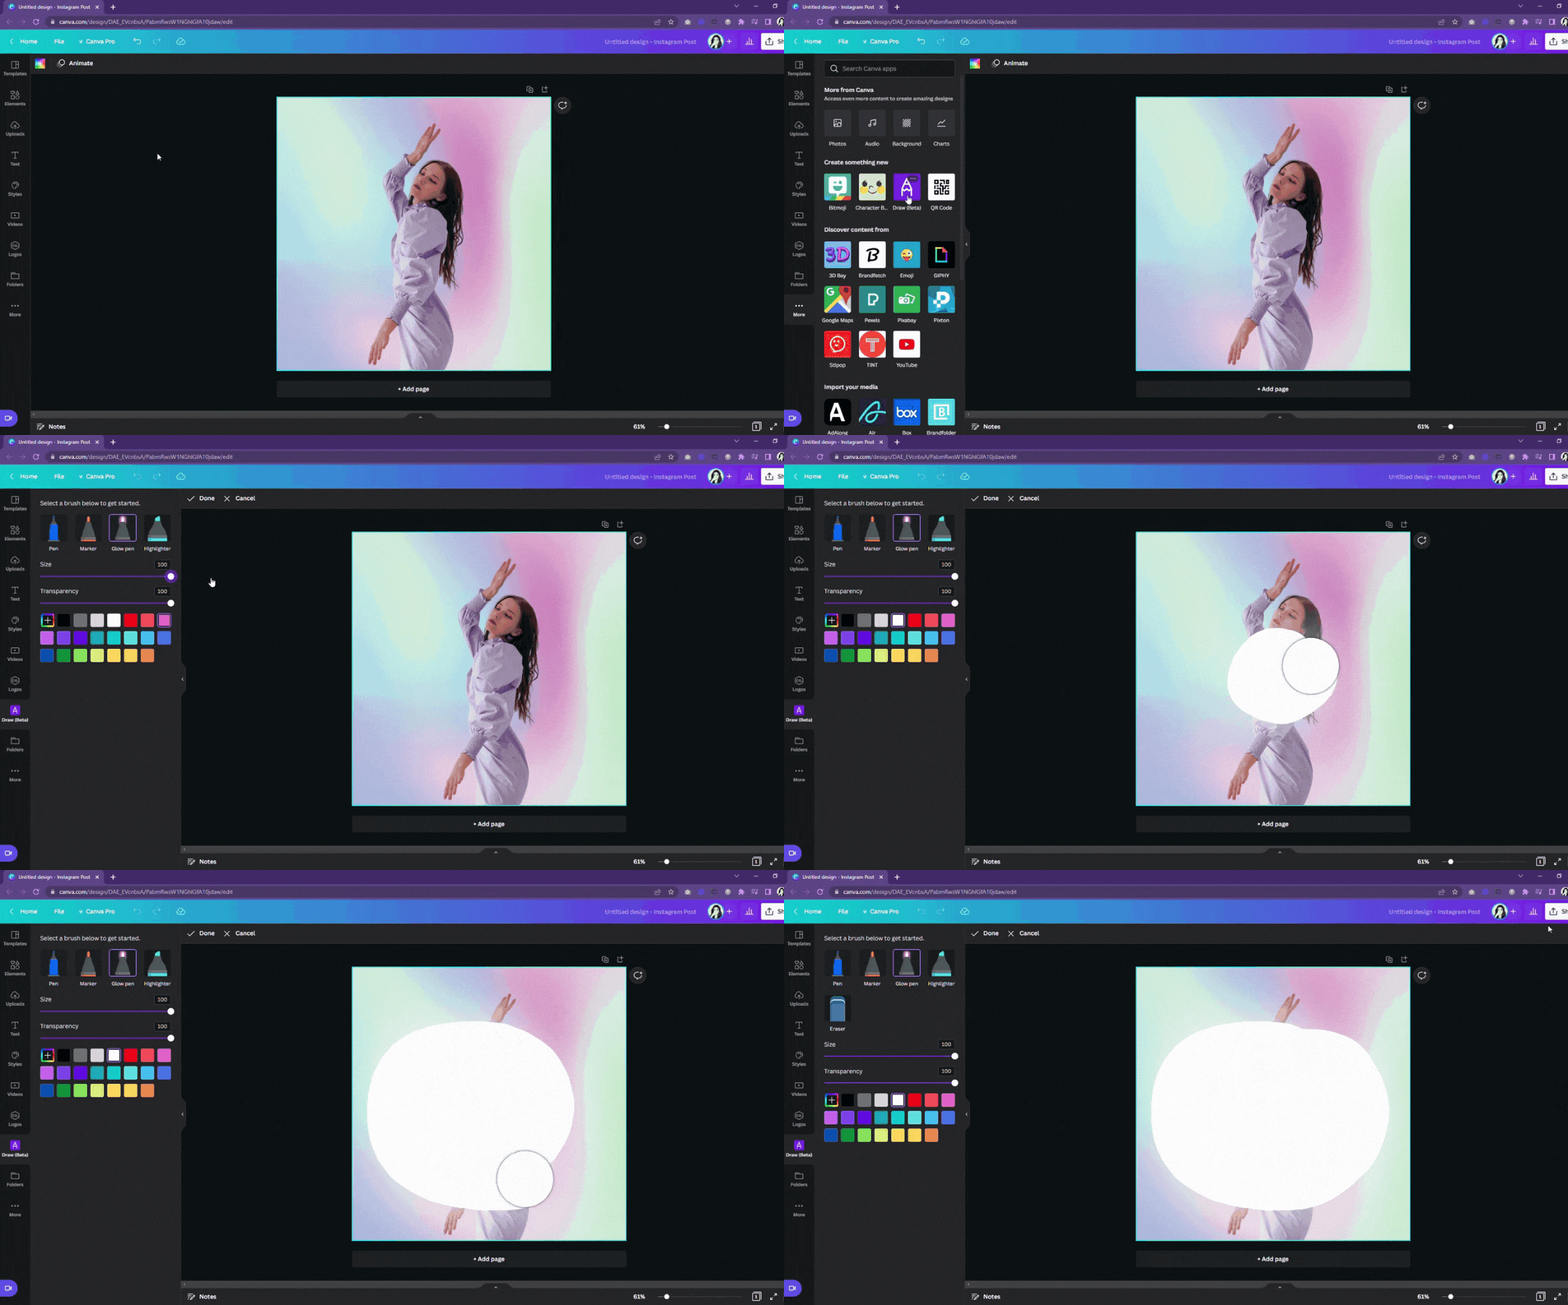
The Canva Draw tool is a function within Canva that allows you to draw freehand. Think of it like Paint from the 80s and 90s, but way cooler.The Draw tool is still in Beta mode, but you can find it under More > Apps and Integrations at the bottom of your folders list when you’re in a design.
There are several pens to choose from whether you want to decorate your images or create unique graphics styling. A fun way to use the draw tool is by creating playful blobs or organic shapes using the draw tool and defusing the shapes using the next tool we will be discussing — The Blur Slider.
THE BLUR SLIDER
Want to get rid of harsh angles and blemishes? Or maybe you want to make your photos dreamy and soft. With the blur slider, the possibilities are limitless. The blur slider is a tool within canva that allows you to blur or sharpen images. Use this slider to create dramatic unfocused backgrounds or mysterious shadows for additional oomph to your graphic collaterals.
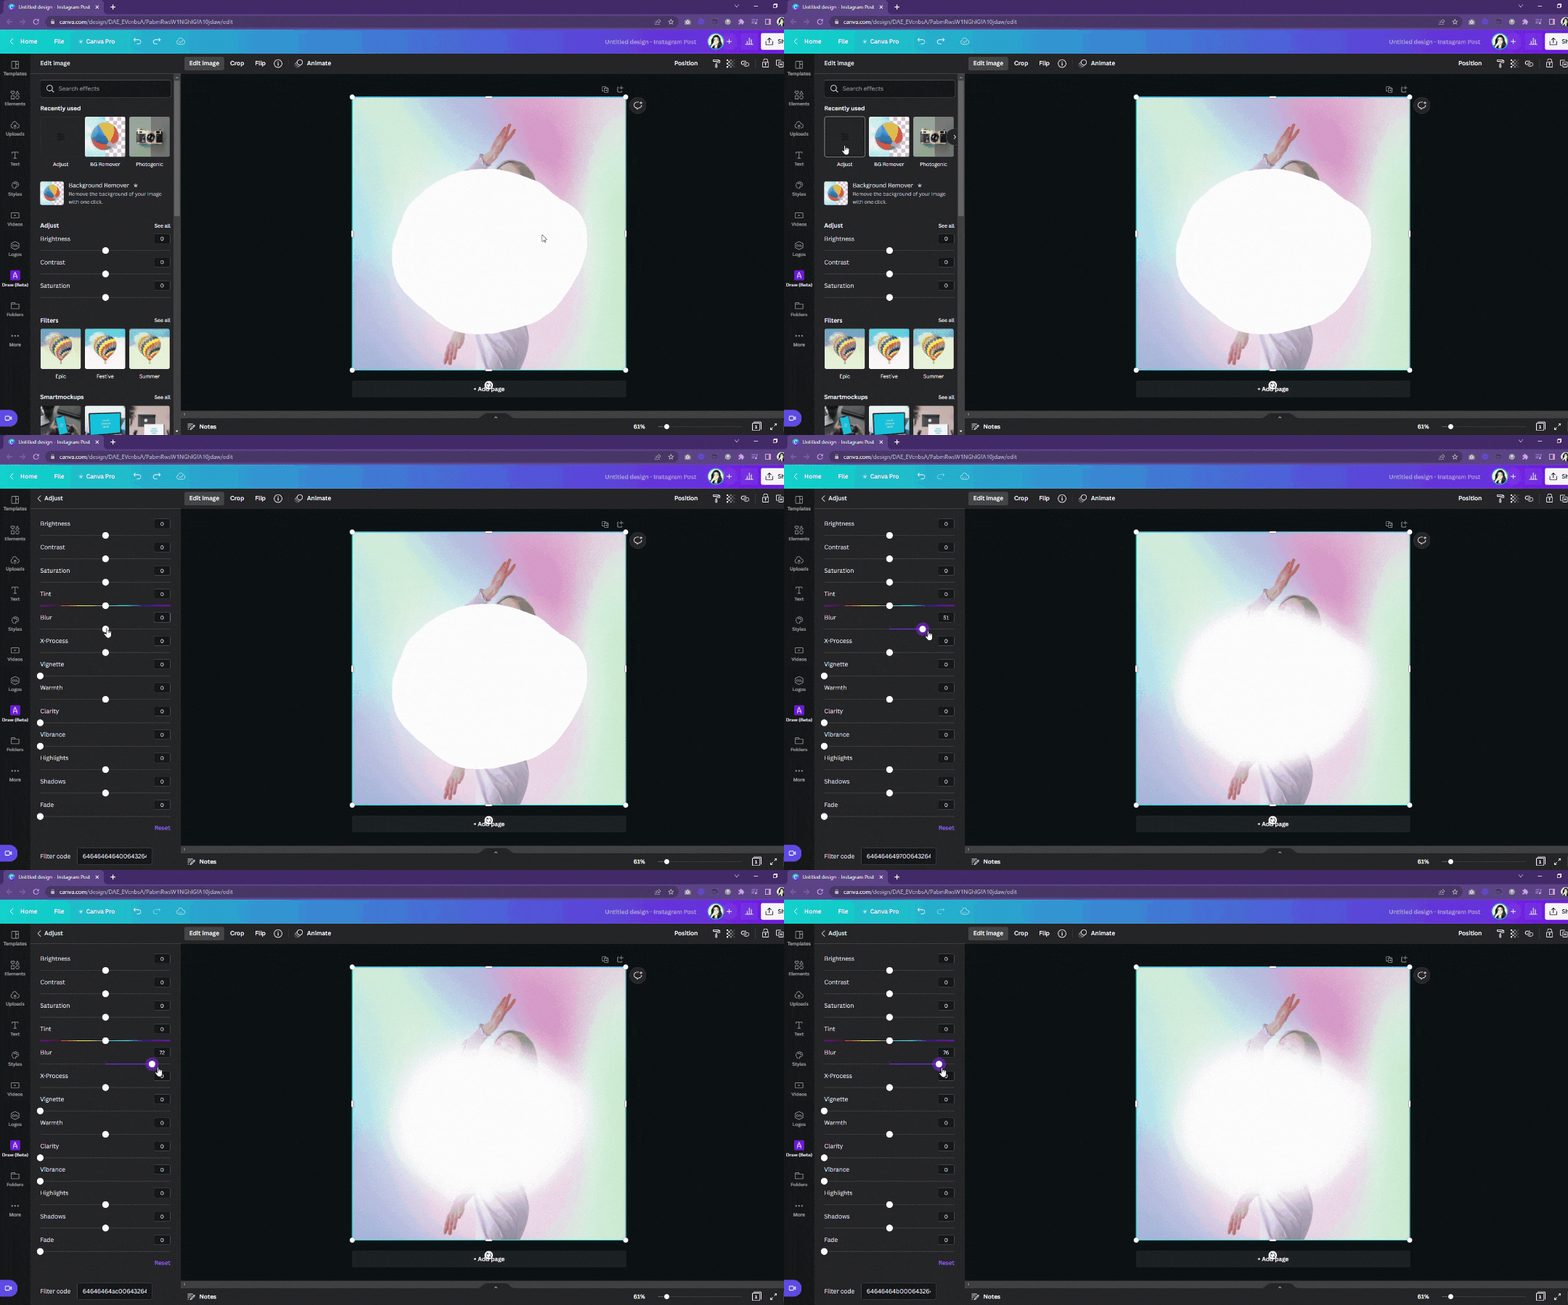
Let’s just say we took it a step further. Instead of blurring an image, we blurred out the organic blobs we created using the draw tool to make a unique graphic glow.
To activate the blur option in Canva, you need to choose your image or element you’d like to use for your design.Once you’ve chosen what image you want to use, click on it and look for the “Adjust” tab on the software’s upper menu. It will then lead you to the right-sided panel.You’ll then notice a couple of sliders in that menu. Search for the “Blur” tool and drag the slider to the right to make the picture hazy. The more you drag it to the right, the blurrier the image is.
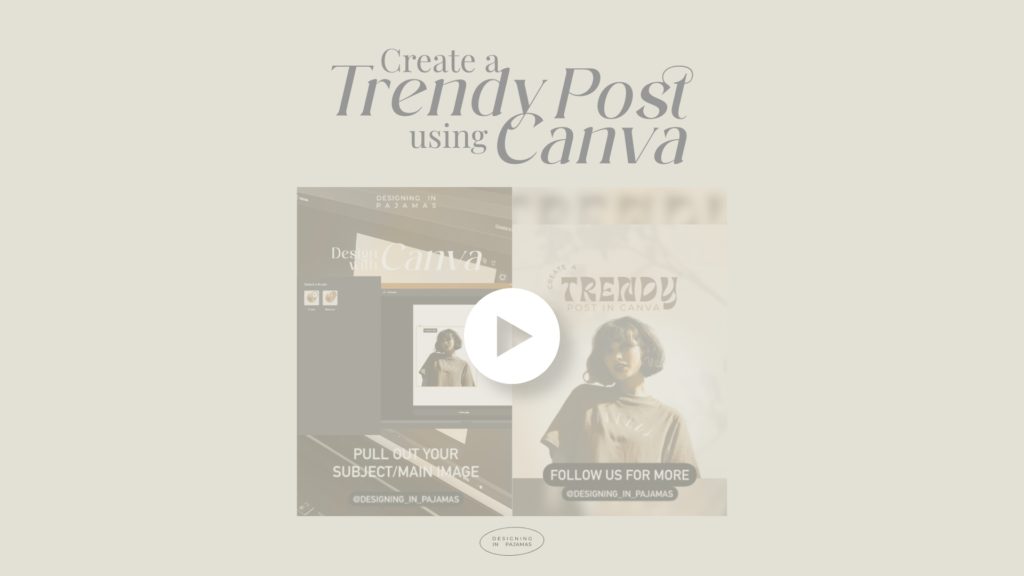
Now that I’ve introduced to you some of Canva’s best kept secrets, time for me to quickly demonstrate how you can use these tools to create a trendy post in Canva. Make sure to watch it until the end.
THE TAKEAWAY
Canva is a great tool for businesses who needs quick assets to use for their business. This application is equipped with tools and resources that simplifies your struggles in terms of design and can easily help you create a trendy post that would go viral. Although Canva can help you produce on demand graphics, the key to growing your brand presence still lies within a well thought of strategy and a consistent visual presence. Having a design partner or team you can depend on to grow and scale your social presence can render invaluable ROI for your business.
Now that you’ve learned how to make a trendy graphic post in Canva, check out our other resources in our blog to learn more about branding, website design, business and marketing. Make sure to pop us a hi in any of our socials (Instagram, TikTok, Pinterest) or subscribe to our newsletter to get notified with the latest news happening in the studio!
Recent Post
Book a call
Creative DESIGN STUDIO for impactful brands.
Get in the know.
CONNECT
Sign up with your email address to receive news and updates. Don't worry, we only send the good stuff.
ALL RIGHTS RESERVED. Designing in Pajamas © 2023
